When you talk about revolutionary tools in the post-production landscape, DaVinci Resolve undoubtedly steals the spotlight. With each update, it's clear: Blackmagic Design isn't just playing the game—they're changing it. The collaboration features within DaVinci Resolve signal a new era, where editors, colorists, and filmmakers collectively sculpt their stories, streamlining workflows and breaking barriers.
But, as with anything, there's a catch—each collaborator needs access to the referenced files. Every team is left to figure out their own solution. Cloud platforms aren’t designed for video, especially RAW formats, which are big and use complex folder structures that make it difficult to get footage back down intact. Copying files to a shuttle drive and physically delivering it means that you multiply costs for every collaborator. And then, what do you do if you need to send more footage? Then, there’s networked storage servers, which allow you to store files in one place that multiple users can access across a local area network, but these solutions typically require a significant upfront investment and have a steep learning curve to set up and manage.
Enter creative.space: a purpose-built storage-as-a-service platform catering to video professionals. With it, you receive a local network-attached storage (NAS) server complemented by user-friendly software and dedicated support. Its built-in VPN integration ensures that both on-site and remote team members can seamlessly mount shared spaces, allowing DaVinci Resolve to reference consistent file paths. There’s also the option to browse and transfer folders and files through the creative.space web and desktop apps, replicating the functionality provided by cloud platforms.
To make the most of this powerful duo, here are 7 key tips for optimizing your DaVinci Resolve and creative.space workflow:
Tip 1: Understand and Choose the Right Type of Library
To get the most out of your DaVinci Resolve projects, choosing the right type of Library is essential. Libraries are DaVinci Resolve’s unique approach to project management, storing project data in databases instead of on the filesystem. The choice of Library type determines what options there are for collaboration. So, understanding and selecting the right one is paramount to optimizing your collaborative workflow.
Libraries in DaVinci Resolve are divided into three main categories: Local, Network, and Cloud.
Local Libraries are designed for individual use. These are Libraries and projects stored on your personal workstation, meaning they are not shared with others. They are great for individual work. When it comes to collaboration, each team member has their own project and must use exchange formats to manage bins and timelines across users and projects.
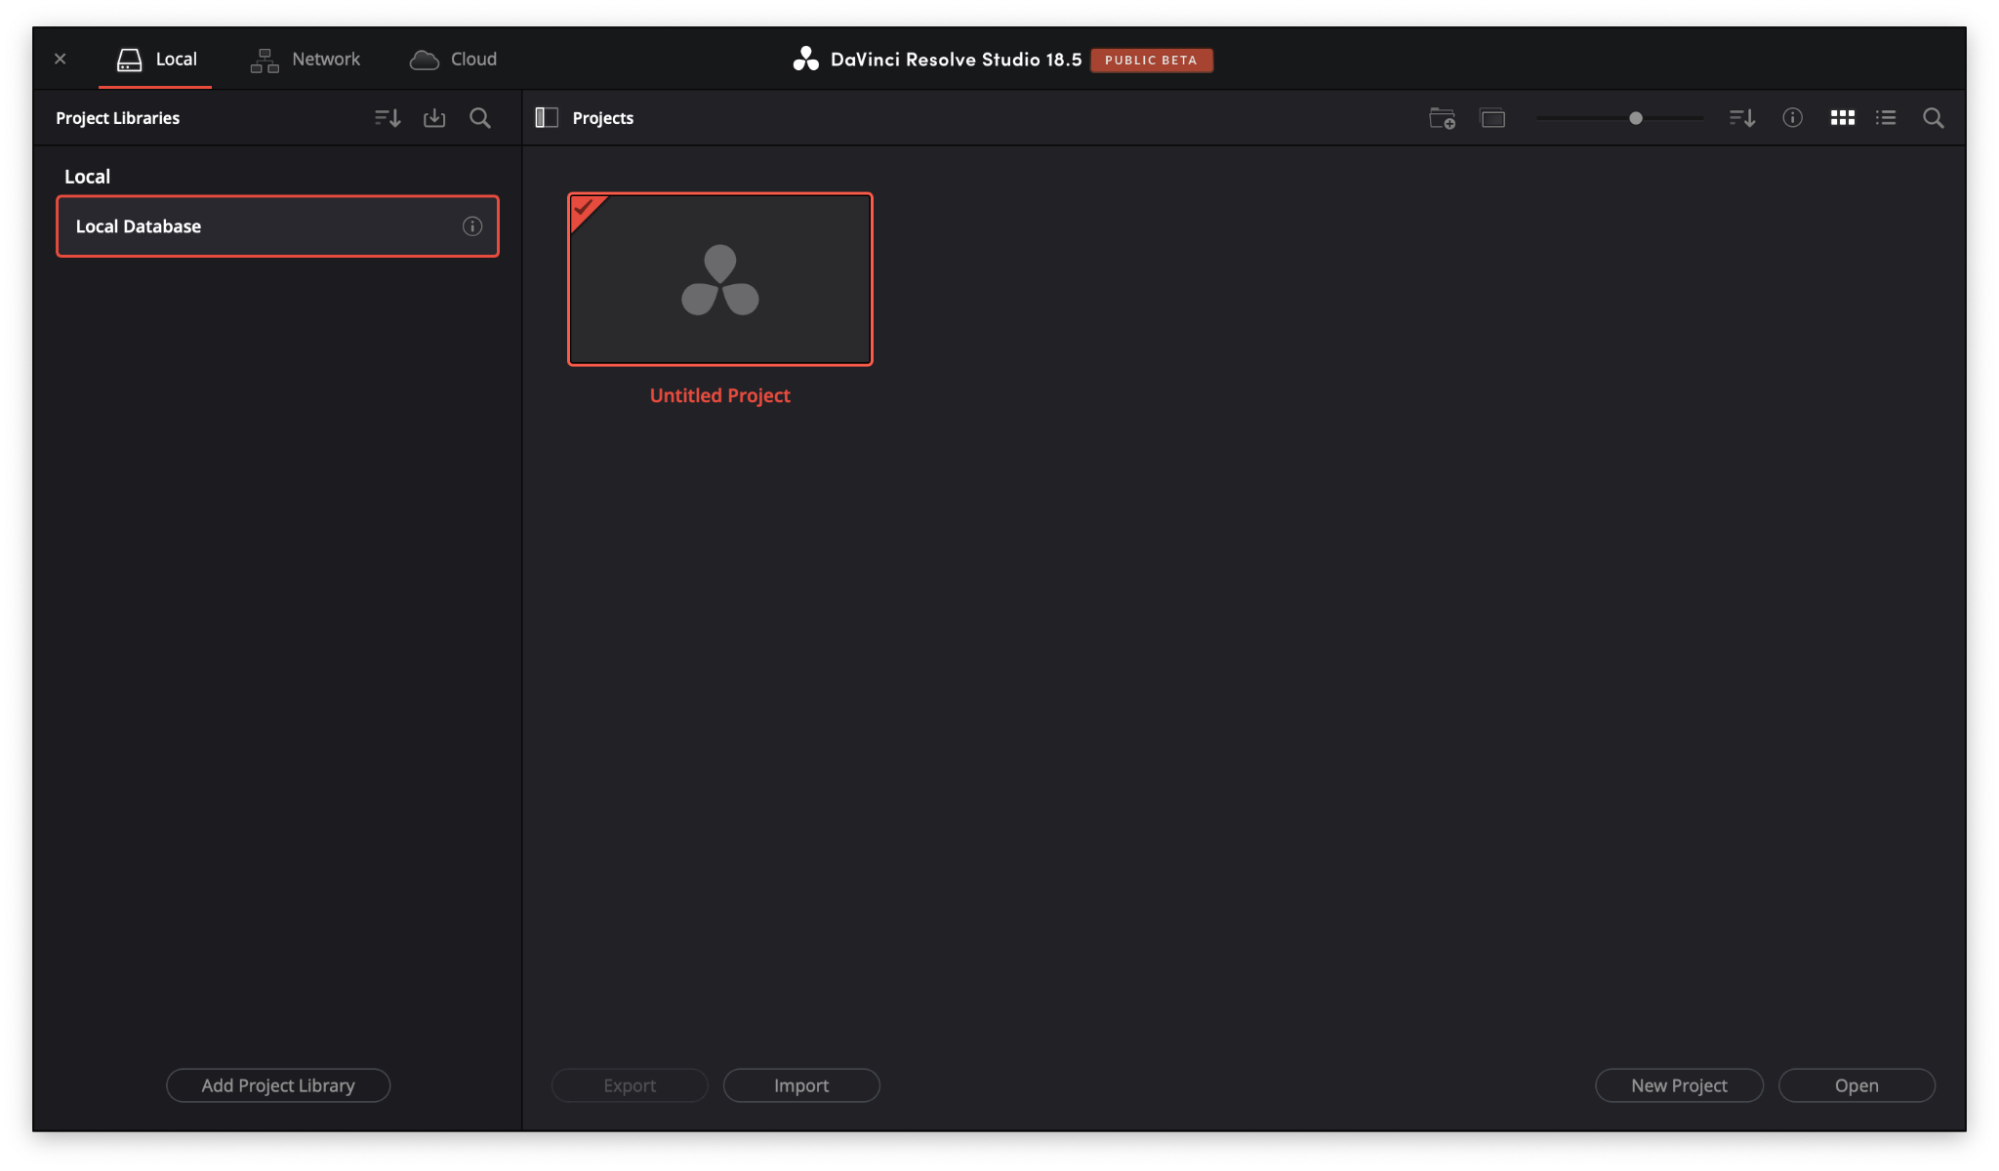
Network Libraries are similar to Local Libraries, but are hosted on the network so that other computers can connect to them. These can be set up on a workstation or a dedicated server and open up the doors for real-time collaboration through Collaboration Mode. However, the scope of Network Libraries is limited to local users, meaning it's best suited for teams working under the same roof or on the same network. VPN access is not allowed for Collaboration Mode, so remote users will be limited to single-user projects.
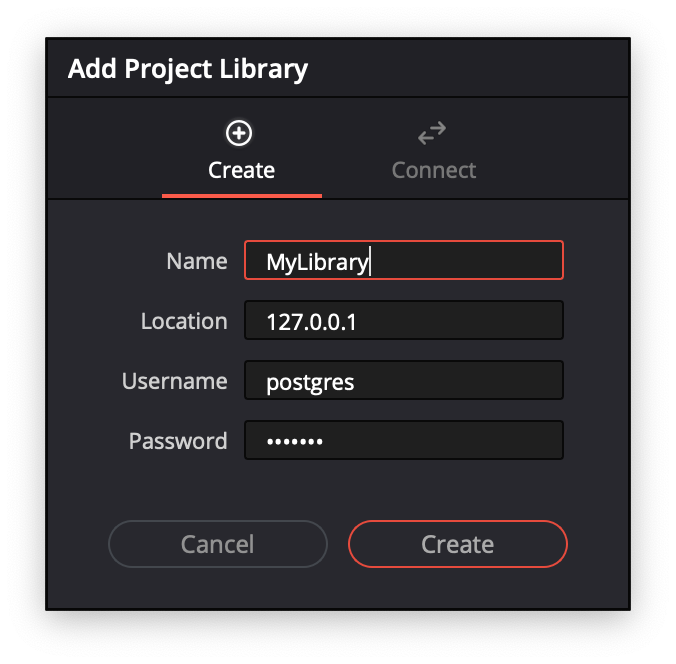
The creator of the library will see 127.0.0.1 as the default location, but this is actually the localhost and can only be used for that workstation to connect to itself. To connect to a Network Library, you need to know the IP address that your workstation can reach it with.

Cloud Libraries offer a step further by providing remote collaboration capabilities. Hosted in Blackmagic Design’s cloud, they enable teams to work on shared projects over the internet, irrespective of their geographical location. It's an excellent option for distributed teams and remote workers. For a $5 per month subscription (for each Library), invited users can access all the contained projects.
Finding the website to sign up for and manage your Blackmagic Cloud account can be tricky. There is a login link accessible from the DaVinci Resolve page on the Blackmagic Design website.
Selecting the right Library type can significantly impact your workflow and overall collaboration effectiveness. Understanding your team's needs and working style is crucial to making the most informed decision. Keep in mind that these Libraries only cover the projects themselves. You'll need a separate method for everyone to access the media assets.
Tip 2: Store Your Assets in Shared Spaces
After pinpointing the most suitable Library type for your team's collaborative requirements, your next move is organizing an effective media asset sharing system. While DaVinci Resolve facilitates collaboration within the application, it doesn’t address the need for shared access to media files. That’s where the value of the creative.space platform becomes evident.
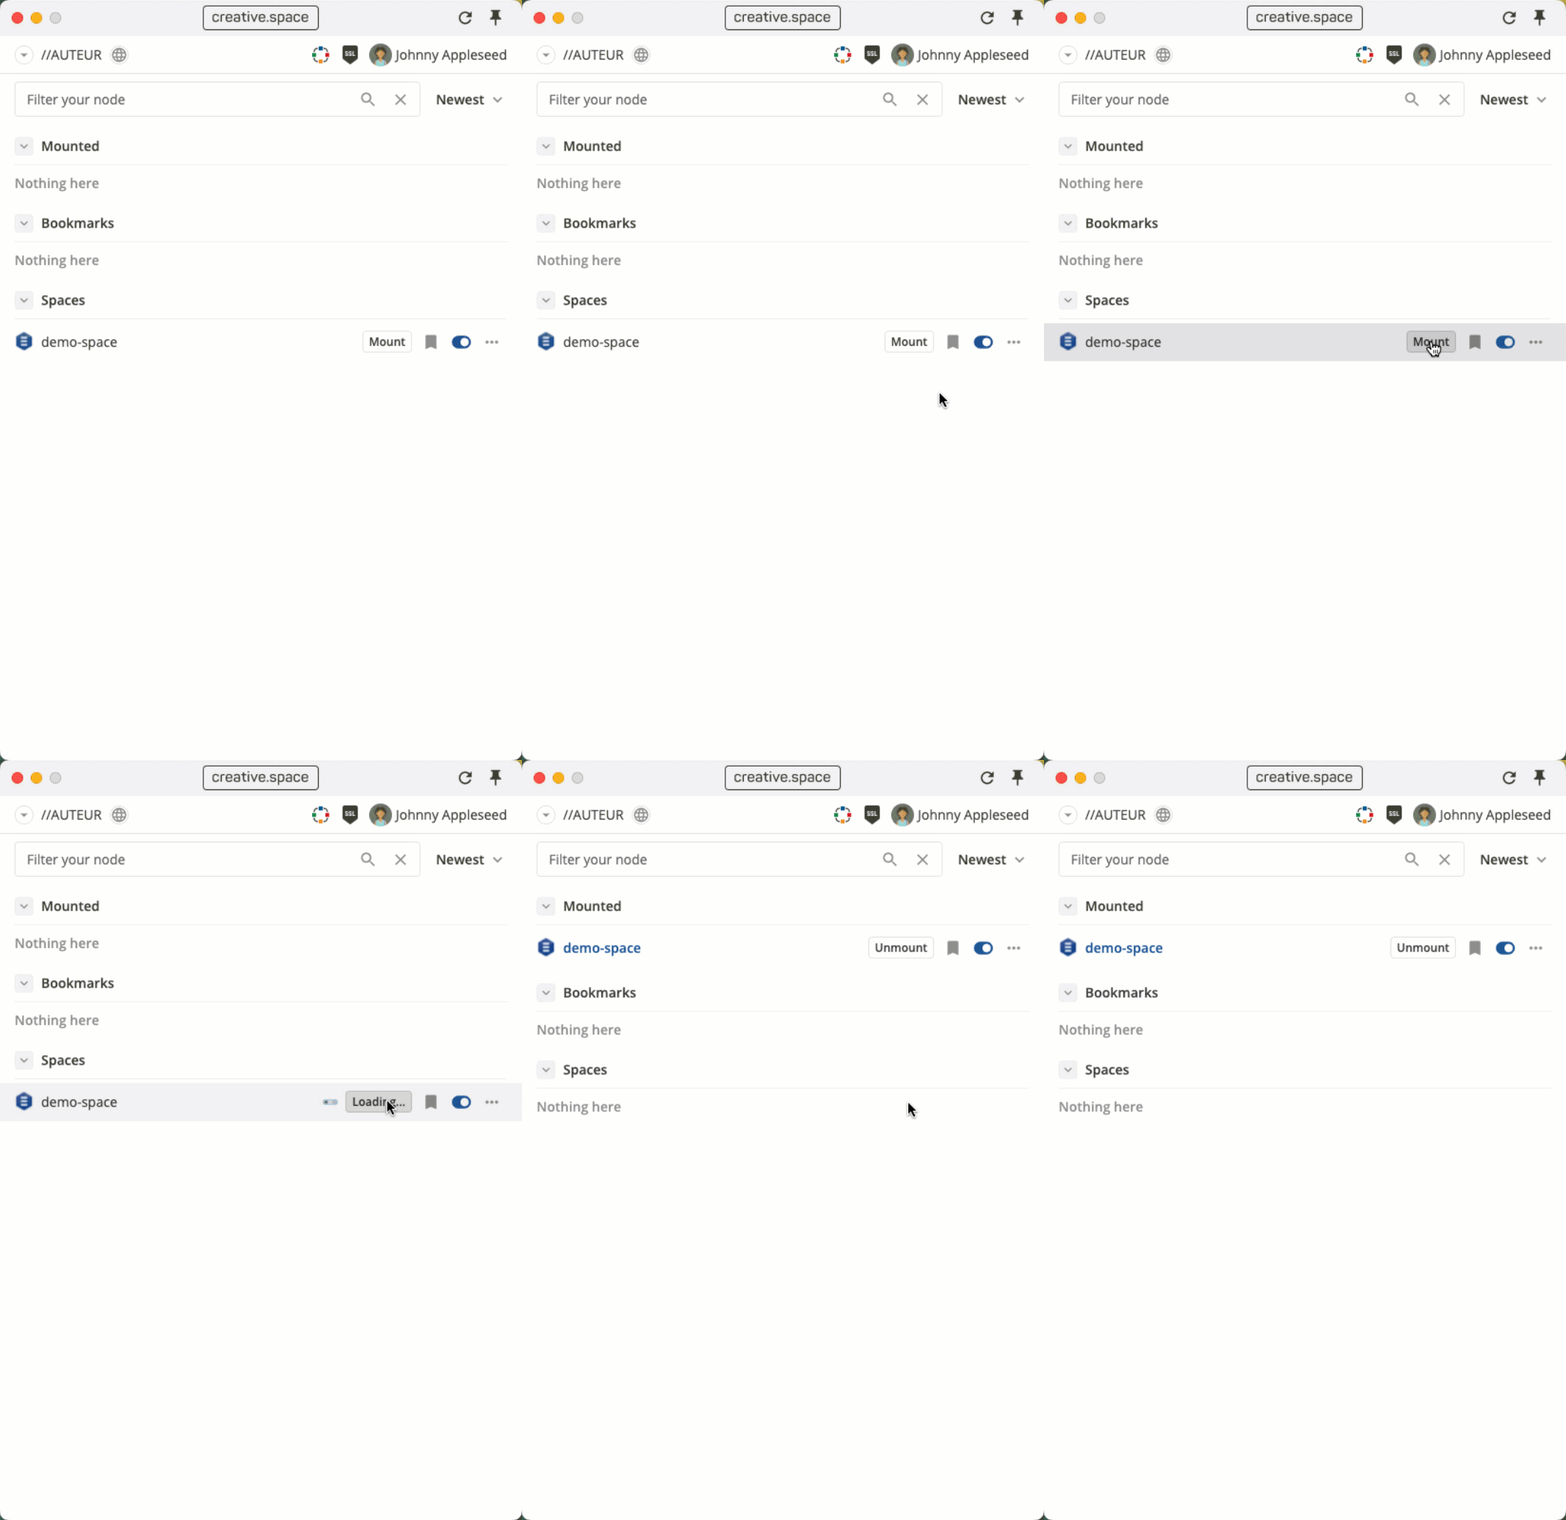
Enter the easy-to-use creative.space Desktop App. Anyone can seamlessly connect to your server and mount shared spaces to their operating system, letting them interact with them just like any regular folder or drive. The standout benefit? Your entire team can tap into the same media files in real-time, optimizing asset sharing and enhancing teamwork.
With the creative.space platform, your team isn't only granted file access for simultaneous work; you're also ensuring everyone operates from consistent file paths. Even when each team member works inside individual DaVinci Resolve projects, this consistency makes swapping bins and timelines seamless.
Remember, storing your assets in shared spaces is not just about convenience; it's also about ensuring consistency, eliminating scattered copies of files, and enhancing your team's collaborative capabilities by eliminating steps.
Tip 3: Use DaVinci Resolve’s Bin and Timeline Sharing Formats
DaVinci Resolve’s Bin (DRB) and Timeline (DRT) files heralded a new era in asset sharing. These specialized exchange formats have revolutionized the ease and efficiency of content sharing among users and projects by including the Resolve-specific information, such as effects and color grades, that other exchange formats ignore.
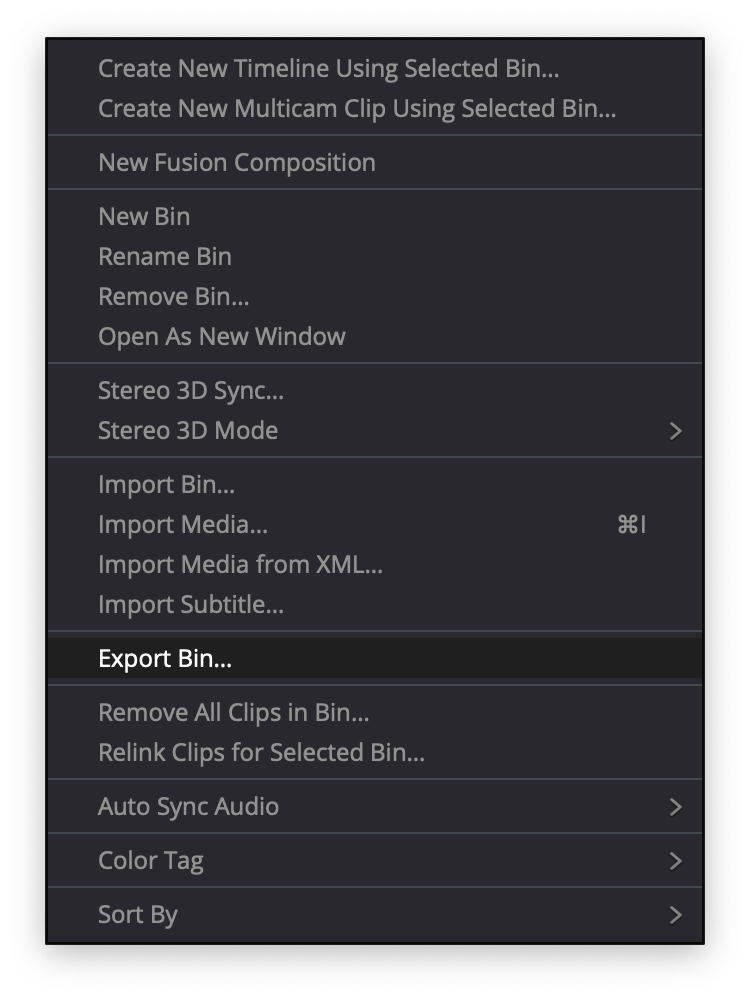
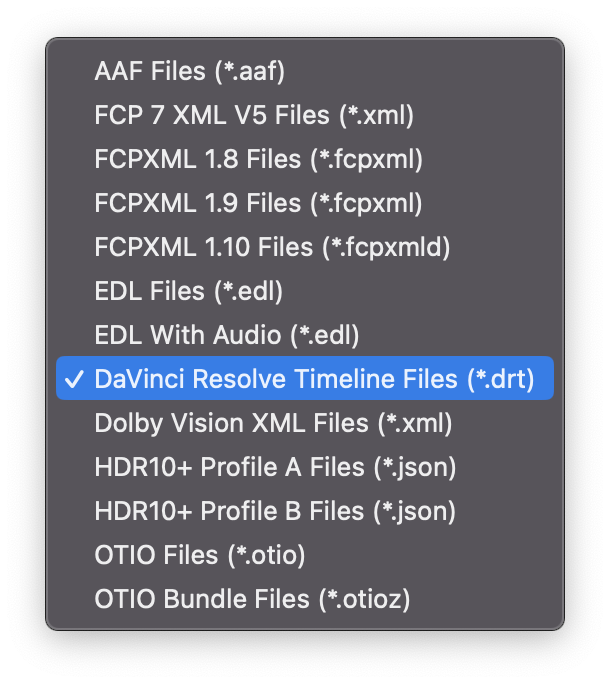
Since Local Libraries are confined to your individual workstation, DRB and DRT files come to the rescue for effortless content transfer between diverse workstations. Even when you have the option to allow multiple users to collaborate within a singular project, there is still a compelling argument for each team member to have their own personal projects. This grants them the autonomy to structure and manage things based on their preferences. More importantly, nothing changes in the project that the user is not aware of, unlike multi-user projects where things constantly change.

The one caveat to using these exchange formats is that you have to be careful about color management. It is important to import bins (DRTs) before timelines (DRBs), because some of the timelines may reference looks from bins. DaVinci Resolve offers two color grade variants: Local and Remote. Local grades attach themselves to specific timeline clips and are included in the DRT file. Remote grades are attached to the master clip in the Media Pool, can be referenced by all instances of a clip across timelines, and are included in the DRB file. So, if a timeline need to be imported through a DRT, always import the DRB for the referenced clips before the DRT.
Especially in collaborative environments where things are constantly changing, exporting bins and timelines as files that include all of the application-specific information is a valuable backup and archival format. As you go through the review and approval process, storing each iteration of your timeline with an easily readable name makes it really easy to go back and find what you need in the future. Saving bin files ensures that all of your custom media prep work, like audio syncing and metadata logging, won’t be lost. You never know when you might need them and they take up very little space.
Working in the creative.space environment makes sharing bins and timelines via DRB and DRT files seamless, as everyone will have access to the same file paths. This is a powerful tool to help manage your DaVinci Resolve projects, increasing efficiency and maintaining consistency across the board.
Tip 4: Use Collaboration Mode

Collaboration Mode enables multiple users to work on the same project simultaneously. When activated, each user can work on different aspects of the project, like editing, color grading, sound design, and VFX without stepping on each other’s toes. This is ideal for projects where different aspects are worked on by different team members under tight deadlines, since it eliminates the conform process normally involved in managing media across applications and projects.
To switch to Collaboration Mode, simply go to the "File" menu, hover over "Project Settings", then click on the "Collaboration" tab and switch the toggle to "On". Remember that all users need to have Collaboration Mode enabled to be able to work on the same project.

The feature that makes Collaboration Mode work is Locking, which allows users to lock the timelines, bins, and shots they are currently editing. Other users will be limited to read-only access, allowing them to reference the media and even copy it to gain write access. To lock a bin, simply right-click on it and select "Lock Bin". Locked bins will appear with a lock icon, and the user who has locked it can freely make changes, while others can only view its content. When you open a timeline in the Cut, Edit, and Fairlight pages, it is automatically locked. The same is true in the Fusion and Color pages for individual shots. Even when a timeline is locked, colorists and VFX artists can keep working on it without affecting the edit.
Organization is key, since everyone is working from the same Media Pool. Without a clear plan, nobody will know what is changing or when. A good practice to adopt is to create a Timelines bin and a Media bin at the root of the Media Pool. Within the Timelines bin, each user should get their own bin that they can keep locked and is 100% under their control so nothing happens without them knowing. Then, the Media bin is where all the shared media can be stored and these can be kept locked by whoever is responsible for media prep. This clear division makes it easy for team members to locate what they need without interfering with each others' work.
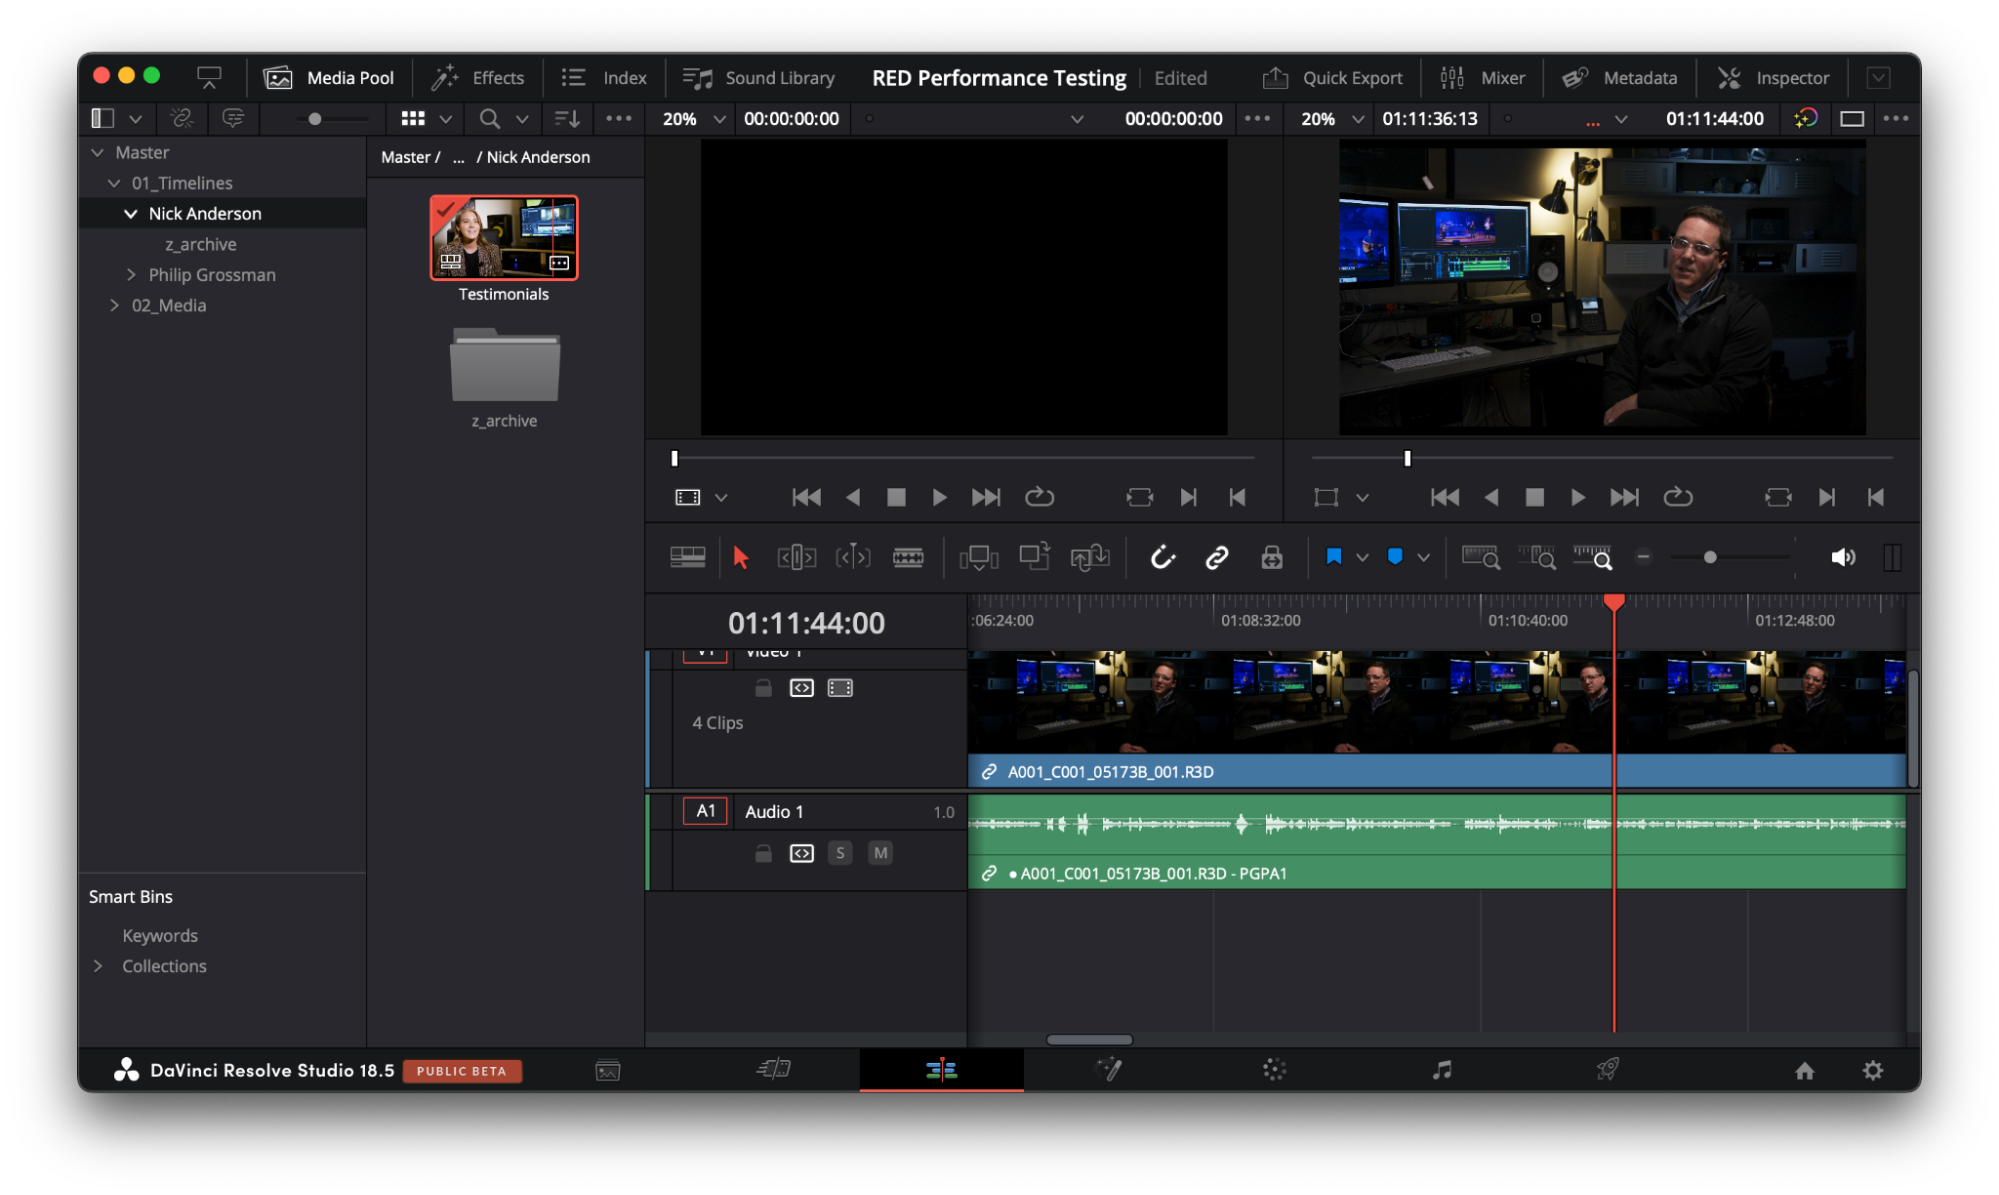
By using these features and best practices, you can optimize your collaborative projects and ensure a smooth, efficient workflow for all involved.
Tip 5: Connect Remotely with a VPN
Remote work has moved from a luxury to the norm, so the need for effective collaboration tools that support remote access is paramount. DaVinci Resolve, combined with the creative.space platform, provides a powerful solution for this.
Tapping into creative.space's VPN integration, teams can effortlessly establish remote links to shared spaces. With the intuitive creative.space Desktop App, these spaces feel just like local drives, streamlining the process for users. Regardless of geographical boundaries, team members can interact with and manipulate media assets in real time—even within the same DaVinci Resolve project.
It's worth noting that configuring a VPN may seem daunting, so lean on your creative.space representative or IT team for guidance. Once activated, the VPN not only ensures a fortified link to your server but also enables uninterrupted collaboration over vast digital distances.
Keep in mind, the speed and stability of your internet connection directly influence the playback of media assets. If bandwidth poses a challenge, leverage DaVinci Resolve’s built-in tools or the Blackmagic Proxy Generator app to produce bandwidth-friendly proxy versions of your clips. These attached proxies, when used with a VPN, ensure frictionless collaboration for both onsite and remote teams.
By integrating a VPN within the creative.space ecosystem, you're crafting a bridge that keeps every team member engaged, synchronized, and consistently productive, no matter where they set up their workspace.
Tip 6: Leverage Proxies and Reel Names
Harnessing the power of proxies can be pivotal for hassle-free collaboration, especially when integrating remote team members. Think of proxies as lightweight doppelgangers of your source media files; optimized to be less taxing on bandwidth.
But, there’s a catch. Proxies are useless if they can't be tethered back to the original high-definition footage. This is where DaVinci Resolve's Reel Names come to the rescue.
Reel Names are Resolve's ace-in-the-hole for bulletproof media management, ensuring media and their respective proxies can always be linked, even if file names are different. Each application calls this metadata property something different — Tape Name or ID being the most common substitute. When working with multiple applications, we recommend manually rendering proxies from DaVinci Resolve so that this metadata is embedded. When you import XMLs in the future, they will automatically reconnect to the right source clips.
In the General Options tab under your Project Settings, you are given multiple options for defining the Reel Name. You can have it dynamically generated from the path filename, use the name of the bin it's in, use the embedded reel ID for capture formats such as RED RAW, or just use the source clip file name. There isn't a one-size-fits-all correct choice, so the best option will depend on your specific workflow.

Leveraging proxies and Reel Names can significantly streamline your workflow, making it easier for your team to work together, no matter where they are located. It's just one more way DaVinci Resolve and creative.space are revolutionizing the process of post-production collaboration.
Tip 7: Send Renders to Other Workstations
High-resolution projects, rich in detail and scope, can be taxing on a single system during rendering. DaVinci Resolve offers an elegant solution – the ability to distribute rendering across multiple systems in your network, effectively converting them into dedicated render nodes.
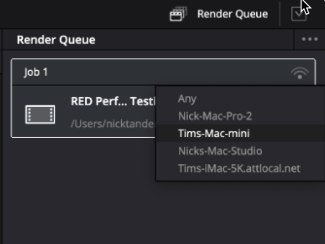
Think of this as creating a mini render farm. Every workstation, equipped with Resolve and connected to the network, can access the same project and media assets. This ensures a cohesive rendering process. If you wish, you can even set workstations to 'Remote Render Mode,' making them dedicated powerhouses for rendering.
But what about those working remotely? If their connection isn’t fast enough to work with source files, how do they render their completed work?
Through a VPN, remote collaborators can send jobs to your on-premises workstations that have high-speed access to the source files. This approach leverages the power of your on-premises workstations to handle heavy rendering tasks, while still enabling seamless collaboration with remote team members.
Embracing distributed rendering not only accelerates your workflow but also ensures that no single system is overwhelmed. It's a testament to the synergy of DaVinci Resolve and creative.space, creating an optimized collaborative environment for all your post-production needs.
Conclusion
DaVinci Resolve, when paired with the innovative features of the creative.space platform, offers a robust and comprehensive solution for this very challenge. From choosing the right library, leveraging shared spaces, and making the most of exchange formats, to employing proxies, reel names, and optimizing render distribution – the combination of these tools and strategies is transforming how teams collaborate. As remote work becomes the new normal, it's imperative to stay abreast of these best practices. By implementing the tips outlined in this guide, professionals can ensure their projects flow smoothly from inception to final render, fostering creativity and productivity every step of the way. Embrace the future of collaboration, and let your team's collective expertise shine.


